Summary: To keep the air in your home healthy, it’s really important to clean your humidifier regularly. This guide will walk you through the process of cleaning your humidifier, step by step, so it works well and doesn’t become a breeding ground for mold and bacteria.
Why Cleaning Your Humidifier is Important
Keeping your humidifier clean is crucial for several reasons:
- Health Benefits: A grimy humidifier can send mold, bacteria, and minerals into the air, possibly causing breathing problems and allergies.
- Efficiency:Giving your humidifier a regular scrub makes sure it’s working like it should, keeping the air just as moist as you like without using more energy than it needs to.
- Longevity: Taking good care of your humidifier can make it last longer, so you won’t have to spend as much on new ones.
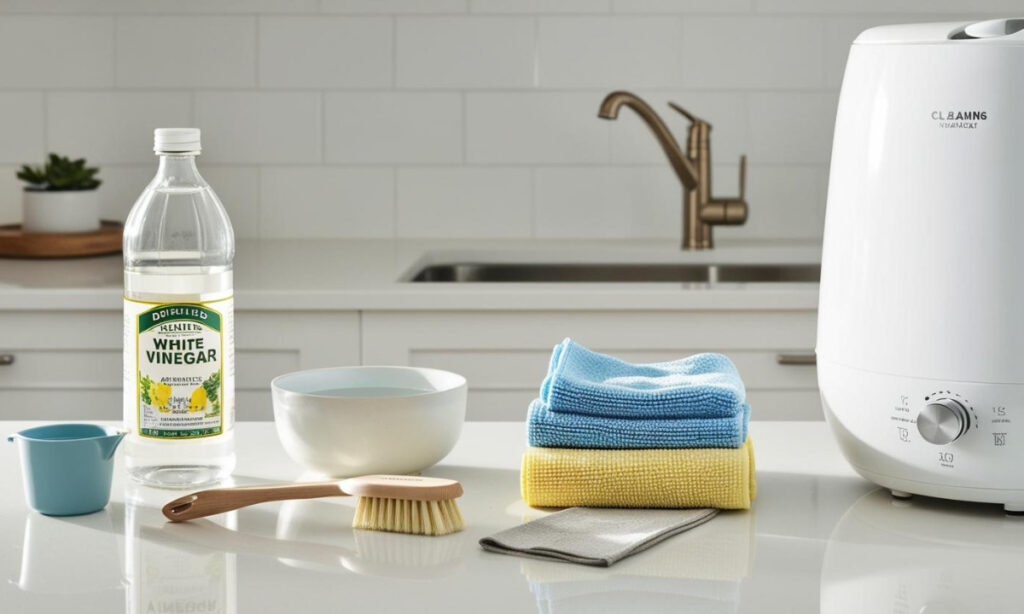
Materials Needed for Cleaning
Before you start cleaning your humidifier, gather the following materials:
- White vinegar
- Water
- Soft cloth or sponge
- A toothbrush or small brush (for hard-to-reach areas)
- Optional: Hydrogen peroxide or a mild detergent
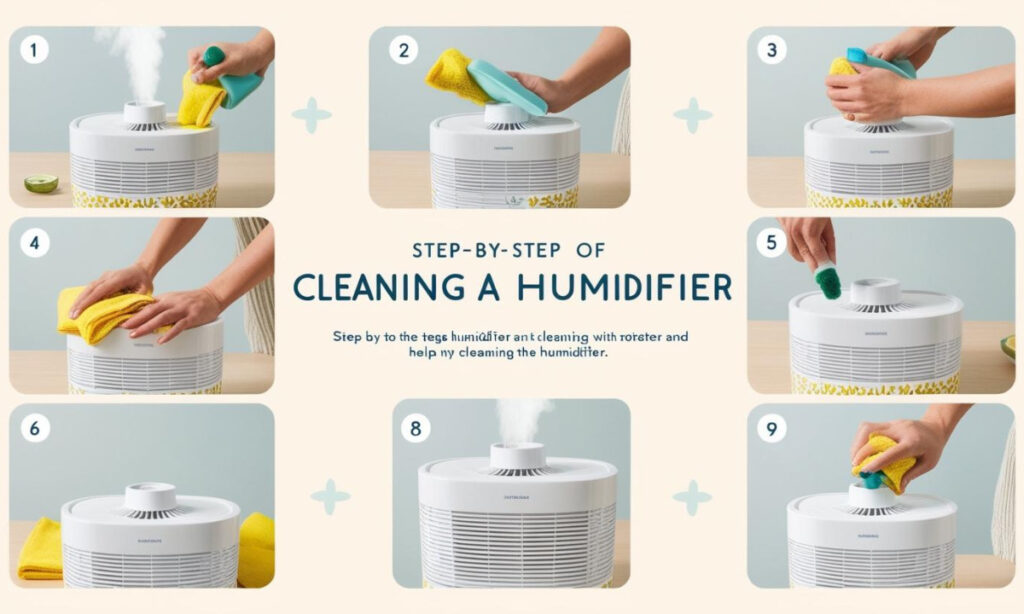
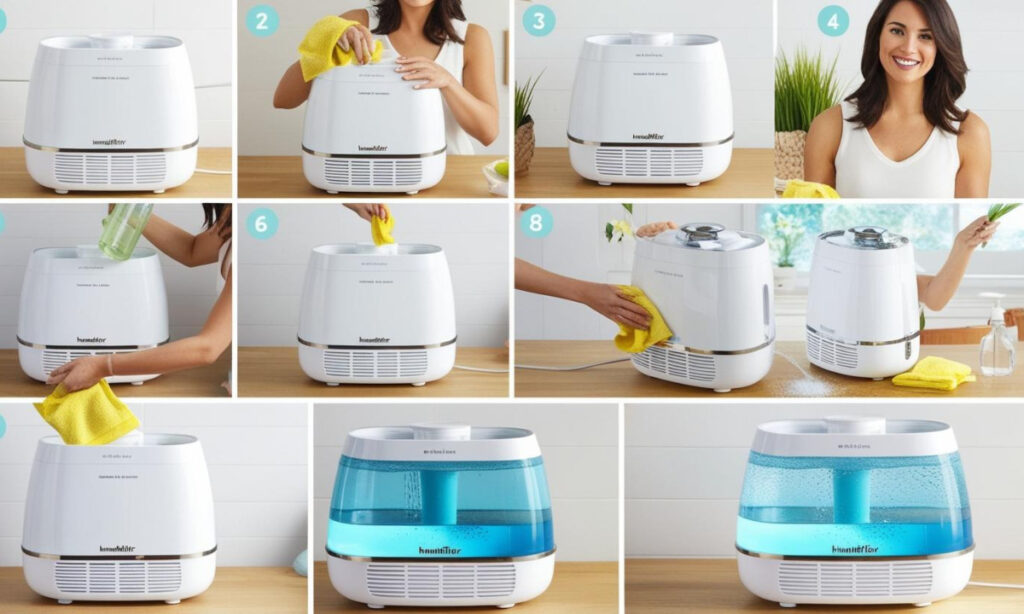
Step-by-Step Guide to Cleaning Your Humidifier
Step 1: Turn Off and Unplug the Humidifier
Make sure to turn off and unplug your humidifier before cleaning it to prevent any electrical risks.
Step 2: Disassemble the Humidifier
Gently take off the water tank, the filter (if there is one), and any other pieces that you can detach. Check the manual that came with the device for help with taking it apart correctly.
Step 3: Empty the Water Tank
Dump out any leftover water from both the tank and the base. This will help stop bacteria and mold from growing.
Step 4: Clean the Water Tank
- Vinegar Solution: Mix equal amounts of white vinegar and water, and use this solution to fill the tank. Allow the mixture to sit for around half an hour so it can break down any mineral buildup.
- Scrub: Gently scrub the interior of the tank with a soft cloth or sponge. If you encounter any tough spots, a toothbrush can help you get into those hard-to-reach corners and crevices.
Step 5: Clean the Base
Use a cloth dampened with the vinegar solution to clean the bottom part of the humidifier. Make sure to focus on any spots where you can see a lot of buildup.
Step 6: Rinse Thoroughly
Once everything is clean, give all the pieces a good rinse with fresh water. This will wash away any leftover vinegar. It’s really important to do this so your stuff doesn’t end up smelling or tasting funny.
Step 7: Dry Completely
Make sure all the parts are completely dry before you put the humidifier back together. This will help keep mold from growing.
Step 8: Reassemble and Test
After everything has dried, put your humidifier back together, add fresh water, and reconnect it to the power source. Give it a try to make sure it’s working right.
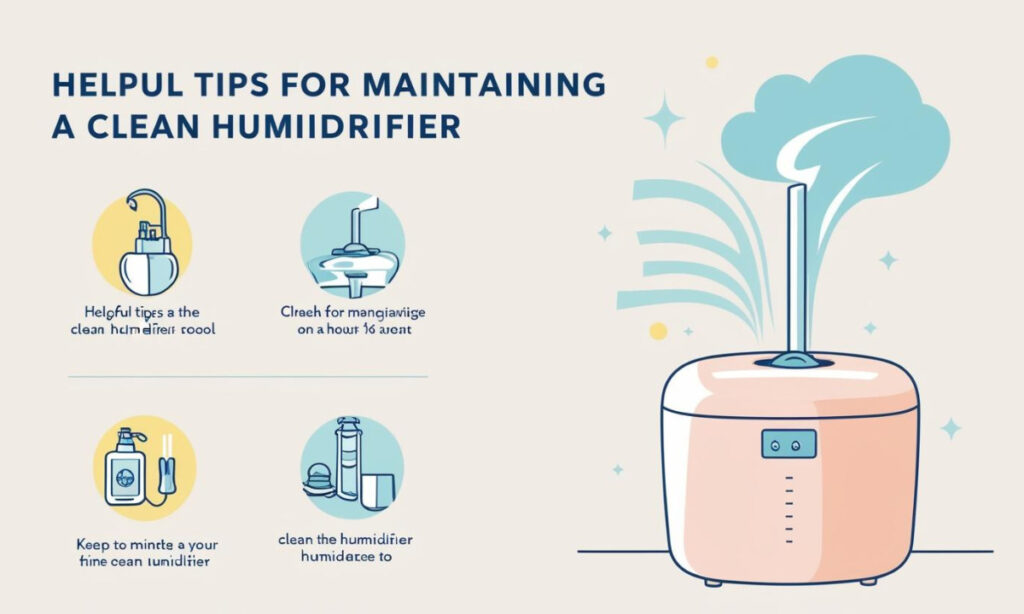
Tips for Maintaining a Clean Humidifier
- Regular Cleaning: Clean your humidifier at least once a week, especially during heavy use.
- Use Distilled Water: Using distilled or demineralized water can reduce mineral buildup and the need for frequent cleaning.
- Change Filters: If your humidifier has a filter, replace it regularly according to the manufacturer’s recommendations.
Conclusion
Giving your humidifier a good scrub is a straightforward but really important job that keeps your home a healthy place to be. Just follow these instructions and make cleaning a routine, and you’ll be able to take advantage of a humidifier that’s working properly, without any of the problems that come with not cleaning it.