
Summary: Making sure your windows are properly sealed is super important for keeping your home cozy and your energy bills low. This handy guide walks you through, step by step, how to reseal your windows like a pro, so you can enjoy a comfortable and energy-smart home.
Understanding the Importance of Resealing Windows
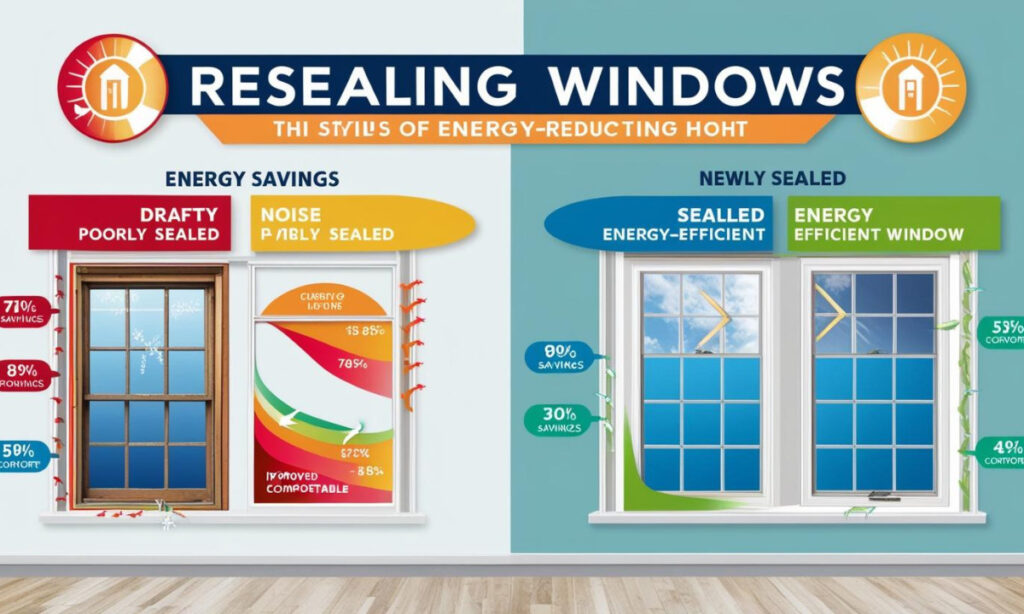
Why Reseal Windows?
Over time, the elements can really take a toll on your windows, causing them to leak air and hike up your energy bills. Giving your windows a fresh seal not only boosts their insulation, but it can also shrink those energy costs and make your home a cozier place to be.
Signs You Need to Reseal Your Windows
- Drafts or cold spots near windows
- Visible gaps or cracks in the caulking
- Condensation or moisture buildup between panes
- Increased energy bills
Tools and Materials Needed
Essential Tools
- Caulking gun
- Utility knife
- Putty knife
- Cleaning cloth
- Measuring tape
Materials Required
- High-quality caulk (silicone or latex)
- Weatherstripping
- Window film (optional for added insulation)

Step-by-Step Guide on How to Reseal Windows
Step 1: Assess the Condition of Your Windows
Take a good look at your windows to see if there’s any damage, gaps, or cracks that you can see. Make sure to really focus on the caulking and weatherstripping.
Step 2: Remove Old Caulk
With a utility knife or a putty knife, gently take off any old or damaged caulk from around the window frame. Make sure the surface is clean and free of debris.
Step 3: Clean the Surface
Give the window frame a good wipe-down with a cleaning cloth to get rid of any dust or dirt. A nice, clean surface will help the new caulk stick better.
Step 4: Measure and Cut Weatherstripping
Feel free to measure the window frame’s length and trim the weatherstripping as needed. This’ll help you seal up any gaps around the window.
Step 5: Apply New Caulk
Go ahead and load your preferred caulk into the caulking gun. Now, run a steady line of caulk along the window frame, making sure to fill in all those little gaps. Finally, use your finger or a putty knife to smooth out the caulk for a clean, finished look.
Step 6: Install Weatherstripping
Give the weatherstripping a good press around the window frame to make sure it’s securely in place. You want it to form a snug seal when you close the window.
Step 7: Optional Window Film Installation
If you’re looking for extra insulation, you might want to think about putting up some window film. Just cut the film to fit your window and stick it on using either double-sided tape or the adhesive that came with it.

Maintenance Tips for Long-Lasting Seals
Regular Inspections
It’s a good idea to check your windows regularly for any signs of wear or damage. Finding problems early can help you avoid bigger issues later on.
Reapply Caulk as Needed
Over time, caulk can start to wear down. It’s a good idea to plan on putting on a new layer every few years to keep a strong seal.
Conclusion
Giving your windows a fresh seal is a pretty simple task, and it can make a big difference in how comfortable and energy-efficient your home is. Just follow these steps, and you’ll make sure your windows stay nicely sealed and keep the weather out.